This is the sixth article in a series of articles on concrete repair work. This is a continuation of the repairing structural cracks in watertight structures section of the previous article. Additionally, we will discuss the different curing methods followed in the crack rectification process.
Table of Contents
Concrete Repair Work-Repairing of structural cracks in watertight structures
As we have already discussed, the rectification of cracks and voids in watertight structures should be carried out by using HA Cut CFL AF in conjunction with Masterseal® 590. Since you’ve learned the recommended application procedure for HA Cut CFL AF, let’s discuss the recommended procedure for WATERPLUG or Masterseal® 590.
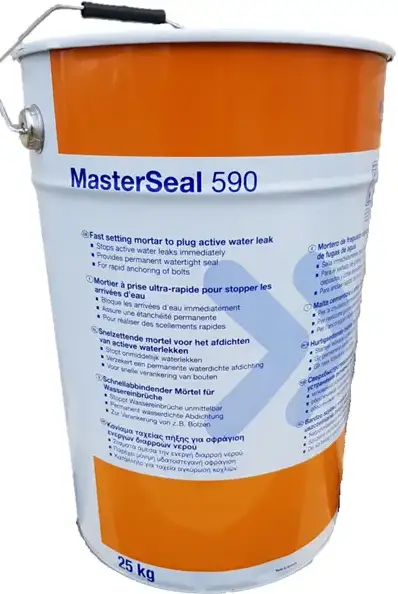
Masterseal® 590 (WATERPLUG)
MASTERSEAL 590 is a fast-setting, single-component hydraulic cement-based repair mortar that instantly stops running water or active moisture seepage through holes or cracks in concrete or masonry.
MASTERSEAL 590 expands as it sets, allowing it to stay in place even when subjected to constant water pressure.
MASTERSEAL 590 repairs are extremely strong and durable, and will keep water out for the life of the structure.
MASTERSEAL 590, which contains no metallic aggregates or corrosive agents, will not shrink or oxidize when cured and is suitable for water immersion service.
Area Preparation and Rectification Method
- Sealing Junction
To seal static cracks at the floor-wall junction, cut the crack at least 34″ (19mm) wide and deep, slightly undercutting if possible. Clean water should be used to flush away all loose debris, dust, and dirt. With a round tool, push MASTERSEAL 590 into the prepared crack and smooth it out to form a cove at wall-to-floor junctions. Allow to damp for at least 15 minutes.
- Stoppage of running water
Cut the crack or hole to a minimum depth and width of 19 mm, 3/4″ for the purpose of sealing active leaks in concrete and masonry. Never “V” cut; instead, always square cut or undercut. MASTERSEAL 590 should be pushed into the crack, starting at the top. Do not immediately insert MASTERSEAL 590 into an opening that is under a lot of pressure. Until a slight warming takes place, hold MASTERSEAL 590 in your hand or on a trowel.
Then firmly insert MASTERSEAL 590 into the opening. Don’t use your hands or remove the trowel too quickly. MASTERSEAL 590 should not be twisted during installation or disturbed while it is set up (5 minutes). Carefully cut and “trowel shave” the patch level after installation to stop the active water flow.
- Sealing Leaks in Joints and Cracks
Cut out defective mortar joints or static cracks to a minimum width and depth of 19 mm (3/4″). When possible, undercut. MASTERSEAL 590 should be forced into the opening and kept damp for at least 15 minutes.
Mixing
MASTERSEAL 590 powder should only be mixed by hand with clean water.
Using approximately 0.26 liters of water for 1 kg of powder, quickly and thoroughly mix to a stiff consistency.
Avoid overmixing.
Let’s now discuss the various curing procedures that can be followed when repairing concrete cracks.
Curing Methods
The application surface should be structurally sound, clean, and free of standing water, oil, grease, surface treatments, and other contaminants.
CHRYSO® Cure AC
CHRYSO® Cure AC is a ready-to-use acrylic-based curing agent with adhesive properties in an emulsion.
Use for new concrete and mortars
When it dries, it forms a protective film that protects concrete and mortar from desiccation.
A surface treated with CHRYSO® Cure AC is initially white in order to easily identify the coated areas, and it also reflects light to the greatest extent possible, keeping the surface less heated and ensuring less moisture evaporation from concrete. The coating becomes transparent after drying.
Unlike moisture curing, this has a single application and forms a moisture barrier throughout the curing period.
CHRYSO® Cure AC allows you to continue with subsequent activities such as painting, tile repair, and so on without having to remove this layer.
Spray CHRYSO® Cure AC in a thin, even layer. You can avoid blanks by spraying two crossed passes. It should be applied immediately after the final finishing operation and after the water sheen has disappeared from the concrete surface.
It is critical not to apply CHRYSO® Cure AC to concrete that has standing water.
Antisol®-A
Antisol®-A is a curing compound based on water-dispersed acrylic copolymers. It is ready to use and easy to apply.
Antisol®-A will form a thin film on the concrete’s surface, preventing premature water loss due to evaporation.
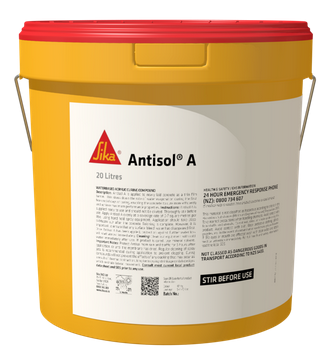
Antisol®-A is now suitable for use. Don’t dilute it. Before using, give it a good stir.
On freshly placed concrete, Antisol®-A curing compound can be sprayed, brushed, or rolled. When surface water has disappeared (approximately 1/2–2 hours, depending on ambient conditions), apply as soon as possible after final trowelling.
Apply immediately after removing formwork from vertical surfaces.
The area must be protected from rain for at least 2-3 hours after application.
Antisol®-A is appropriate for subsequent surface treatments such as screed, protective coating, decorative paint, and so on.
Jetcure R
Jetcure R is a single-component, ready-to-use membrane-forming curing compound based on an acrylic resin emulsion supplied in liquid form.
When sprayed onto a fresh concrete surface, it forms a continuous film-forming moisture barrier, ensuring optimal cement hydration, improved concrete durability, and reduced shrinkage.
Because Jetcure R is an acrylic resin emulsion, it should be thoroughly stirred by rolling the drum before use to ensure even dispersion.
It is ready to use and should not be diluted.
See this: Concrete Repair Work – Part 1
See this: Concrete Repair Work – Part 2
See this: Concrete Repair Work – Part 3
See this: Concrete Repair Work – Part 4
See this: Concrete Repair Work – Part 5