This is the third article in a series of articles on concrete repair work. Here we are going to discuss in detail the recommended rectification method for Type 2 cracks using SIKA® MICROCRETE-2000.
Table of Contents
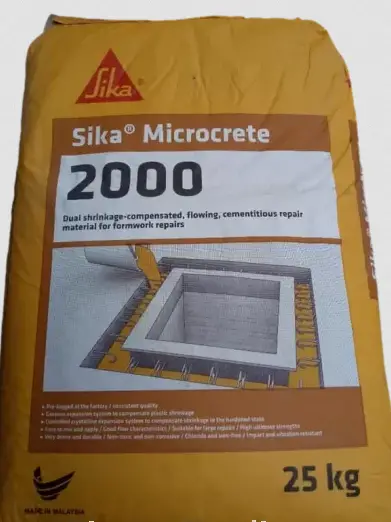
SIKA® MICROCRETE-2000
A pre-bagged, flowing microconcrete with dual shrinkage compensation. It has excellent flow qualities and was designed primarily to minimize heat generation. As a result, large-volume repairs can be completed without the use of aggregates. With its high silica fume level and blended cement mixture, it produces a particularly dense, impermeable, and hence long-lasting repair mortar.
Can be used to repair cracks up to 75mm.
However, in this case, we are only considering the repair of surface cracks that have a width greater than 0.2mm and a depth below 25mm. Hence, it is expected that no reinforcement is exposed to the outside, as we are assuming the minimum concrete cover to be 30mm.
This can be used to repair a maximum concrete grade of C50/60.
Area Preparation
- To reveal a sound surface, hack and remove the weak concrete.
- In the case of cracks, V-cutting and chipping should be performed to assist the grouting process and ensure good bonding.
- Concrete surfaces should be clean and devoid of oil, grease, laitance, and particles that are loosely adhered.
- Formwork should have a sufficient inlet, level checking, a sealing opening, and a drain-out plug.
- Formwork and openings must be properly sealed.
- Create a platform on the top side for easier grout flow (if necessary).
- The substrate must be properly saturated a few hours before grouting or repair work begins by filling the formwork with clean water. Before beginning work, drain the water.
Mixing
- Sika® Microcrete-2000 should be mechanically mixed in a clean container with a heavy-duty drill and paddle or a forced-action mixer. Fill the clean mixing container halfway with water and slowly add Sika® Microcrete-2000 while mixing for a ratio of 3.2–3.4 ltrl/25 kg bag.
- Make sure to blend for at least 3 minutes.
- The mortar will appear visually rigid during mixing, but with constant stirring, it will become free-flowing. As a result, do not add more water than the recommended maximum mixing ratio.
- To reduce air entrainment, the mixer’s speed should not exceed 500 rpm.
Method of rectification
- As previously said, prepare the surface.
- After mixing, gently stir for a few seconds with a spatula to release any trapped air.
- Pour the free-flowing mortar into the prepared formwork right away. Place the mortar within 20 minutes of mixing to get the most out of the expansion.
- Pour or pump the mixed material through a flexible tube (minimum 50 mm) to the formwork’s lowest point. It is important not to trap any air during the repair process, as this can damage the bonding qualities of the patch.
- It is critical to maintain continuous flow throughout when placing Sika® Microcrete-2000 over a large area.
- To maintain an uninterrupted flow of work, the work sequence must be appropriately arranged. Sika® Microcrete-2000 may be pumped in such large areas with a heavy-duty piston or screw feed pump.
Curing
- Exposed surfaces should be maintained to a minimum and cured as soon as the mortar has dried using proper curing methods. Curing should be started immediately after applying repair mortar to any particular location. Large areas (o.5 m2 at a time) should be cured as troweling continues, rather than waiting for the entire area to be completed.
- After at least three days, the formwork can be removed.
- Cure the repaired sections with curing compound as soon as the formwork is removed.
However, before applying the grout, a water-proofing and bonding agent (Barra Emulsion 57D) should be applied to avoid premature drying of the grout patch owing to moisture absorption into the concrete and to assist good bonding. Refer to the process outlined in Article 2 of this series for applying Barra EMULSION 57D.
See this: Concrete Repair Work – Part 1
See this: Concrete Repair Work – Part 2
See this: Concrete Repair Work – Part 4
See this: Concrete Repair Work – Part 5
See this: Concrete Repair Work – Part 6